Custom Power Runs Made Easy: Connect Your Own Wire.
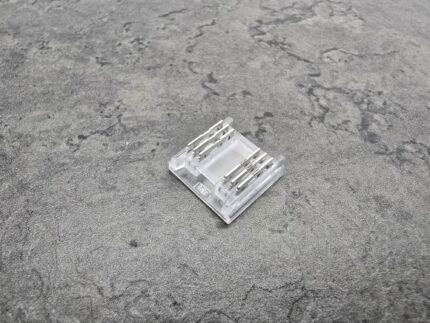
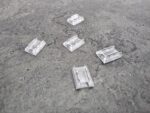
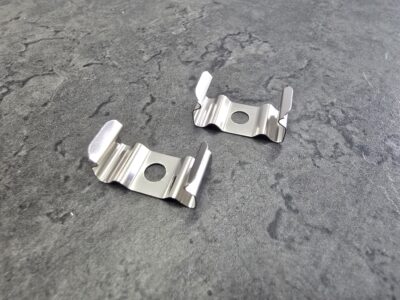
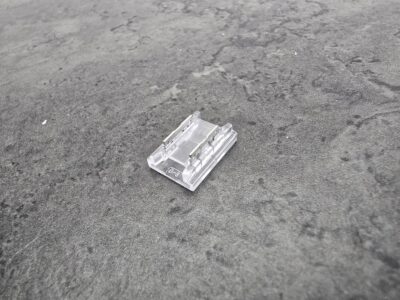
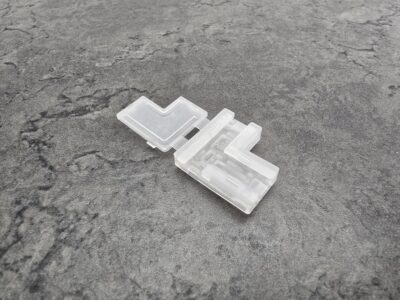
The Strip to Bare Wire Terminal Connector provides a clean, solderless, and robust point of connection between your LED strip and your chosen power cable. This version allows you to use your own length and gauge of wire, offering maximum flexibility for professional and custom installations where the power supply is located far away from the strip.
Key Features & Technical Benefits (The “What”)
| Feature |
Detail |
Strategic Benefit |
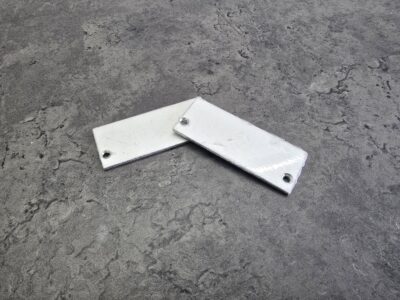
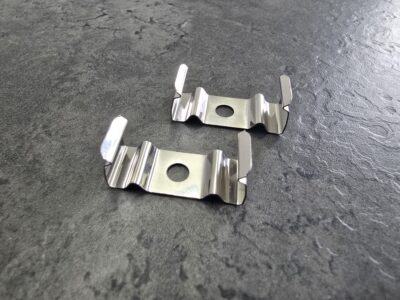
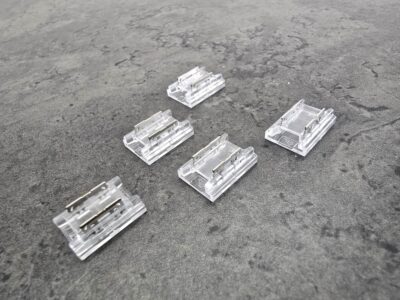
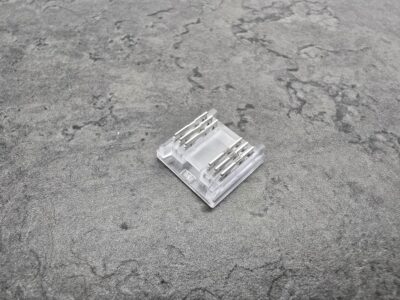
| Bare Wire Connection |
The output side features an open terminal block, often with clamp-down or screw-down mechanisms. |
Custom Wire Use: Allows you to connect any length or type of appropriate low-voltage wire (e.g., 22AWG) directly to the strip. |
| 2-Pin Polarity |
Clearly marked terminals for Positive (+) and Negative (-) to maintain correct single-color circuit flow. |
Universal Compatibility: Works with standard single-color (MONO) LED strips like White, Red, Blue, or Warm White. |
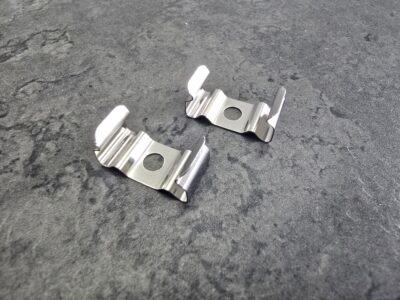
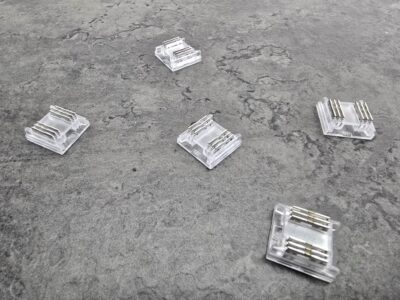
| 8mm & 10mm PCB Widths |
Available in dedicated sizes to perfectly match your strip’s PCB. |
Secure Fit: Ensures the connector’s internal pins perfectly align with the strip’s copper pads for a solid electrical connection. |
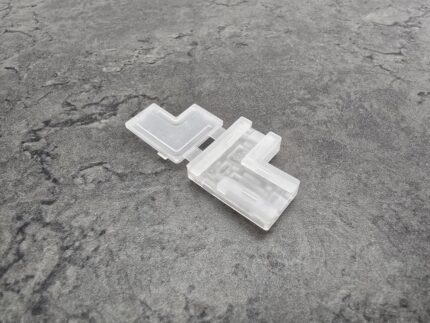
| Solderless Strip Clamp |
Uses an insulation-piercing or clamp-style connection to secure the LED strip. |
No Soldering Required: Eliminates heat tools, making installation safer, faster, and simpler for DIY users. |
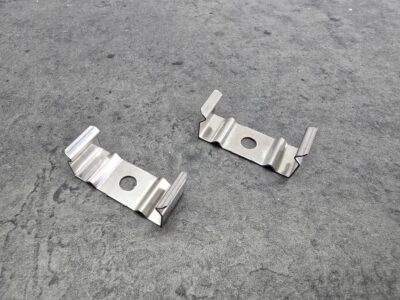
| Slim Profile |
Many models feature an ultra-slim design to fit inside common aluminum channel profiles. |
Seamless Integration: Allows for a clean, professional finish inside protective LED extrusions. |
Installation & Notes
Installation Guidance (Integrated “How To Use”)
This process requires you to prepare your own power wire in addition to the LED strip.
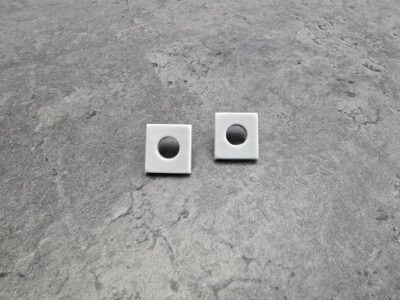
- Prep the Strip: Cut the LED strip cleanly along the marked cut line.
- Insert the strip with the copper pads facing the connector’s pins, ensuring Positive (+) on the strip aligns with the Positive (+) marking on the connector.
- Firmly close the clasp until it locks, securing the strip.
- Prep the Wire (Bare Wire):
- Take your custom power wire (e.g., 22 AWG 2-conductor wire).
- Carefully strip about 5-8mm (1/4′′−1/3′′) of insulation from the end of each conductor to expose the bare copper strands.
- Insert the bare end of the Positive wire (usually Red) into the (+) terminal on the connector.
- Insert the bare end of the Negative wire (usually Black/White) into the (-) terminal on the connector.
- Secure: Push the wire into the clamp-down terminal until it is firmly secured.


Reviews
There are no reviews yet.